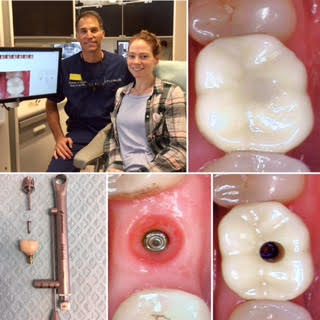
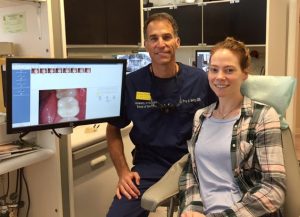
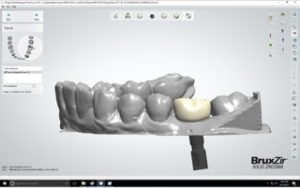
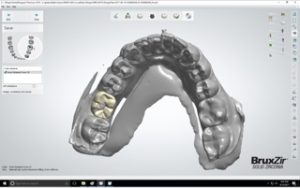
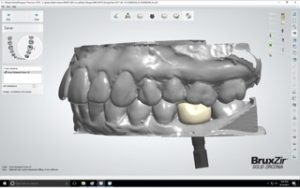
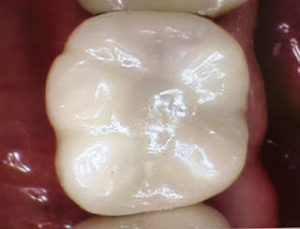
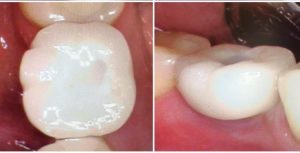
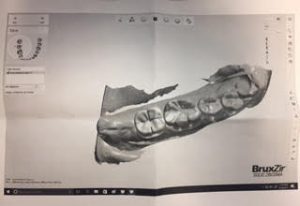
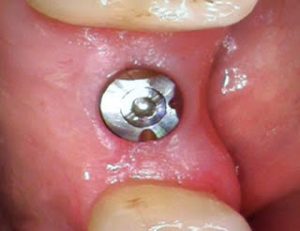
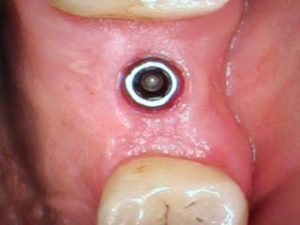
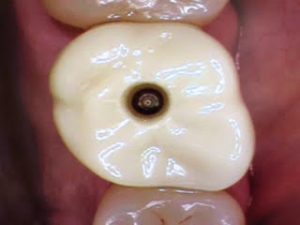
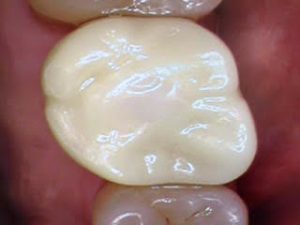
Here are the clinical photos and computer design scans of a lower first molar dental implant case I finished up today. The implant crown looks great and fits perfectly, and she is happy to be able to chew on the left side of her mouth once again :-)))
Tag Archives: dentistry
Broken dental implant case
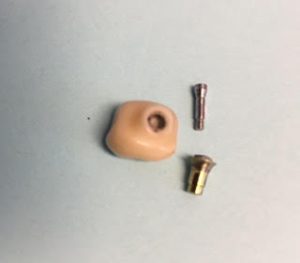
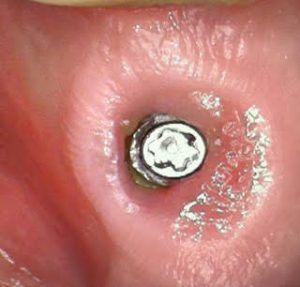
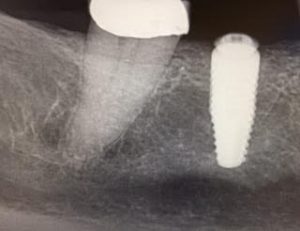
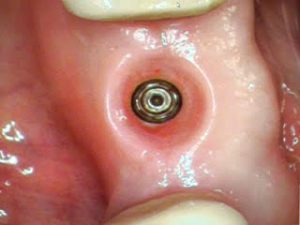
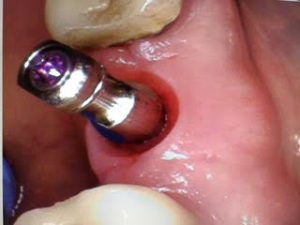
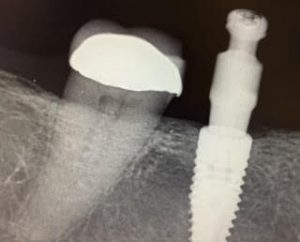
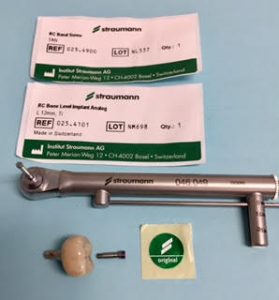
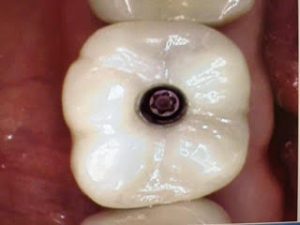
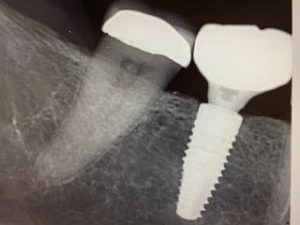
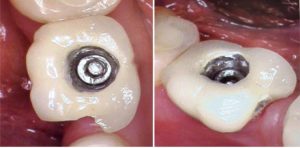
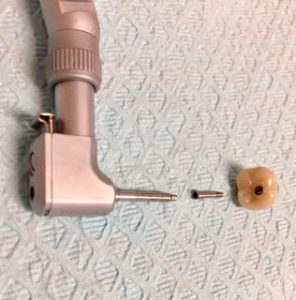
This patient presented with a broken lower implant. I originally restored this implant crown a few years ago, and I was quite surprised and curious as to why it broke. This is very rare, and I used all the best, highest quality, Swiss made, Straumann Implant parts. The implant porcelain crown and titanium abutment broke apart leaving the screw still in the implant. She clenches and grinds her teeth, but still, this should not have occurred. I redid the implant crown and did not charge the patient. These are the clinical pictures:
Implant and crown case of the day
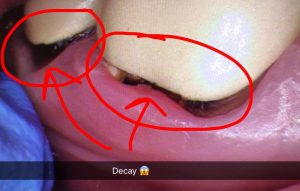
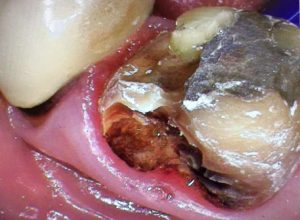
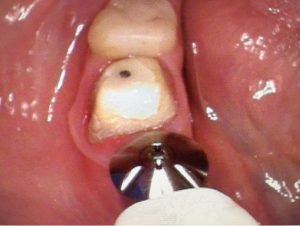
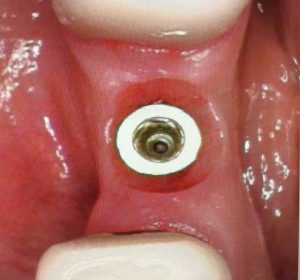
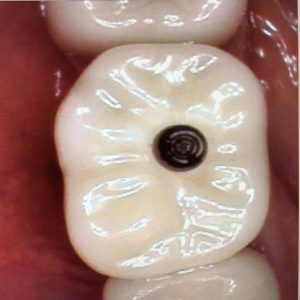
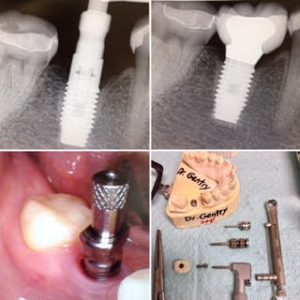
On this patient I noticed decay under two 20 year old crowns on teeth #30 and 31. Removal of the old crowns revealed tooth #30 with deep decay sub-gingival into the root furcation. This tooth was non-restorable. I recommended extraction and an implant. For tooth #31, I was able to clean out the decay and do a crown build-up and make her a new crown.
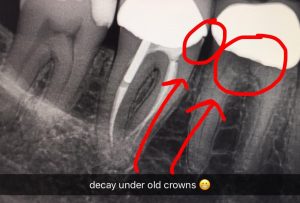
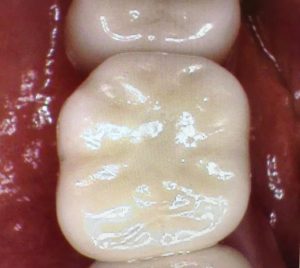
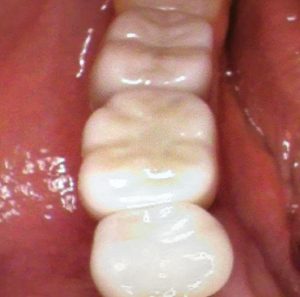
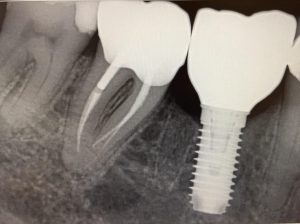
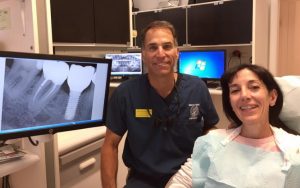
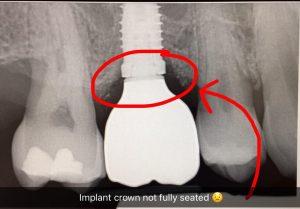
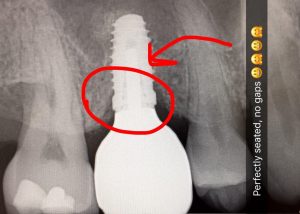
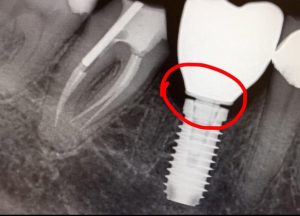
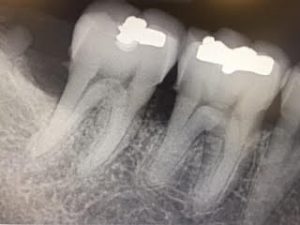
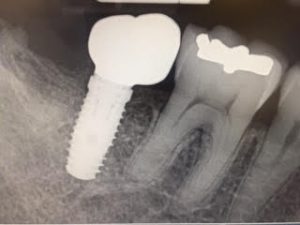
The first x-ray above shows my initial try-in with a gap between the implant crown and implant. The crown would not fully seat, so I re-did the implant crown. The second x-ray, after re-doing the implant crown, shows a perfect fit!!! Both the implant crowns #30 and #31 fit and look beautiful.
Oral Cancer Screening
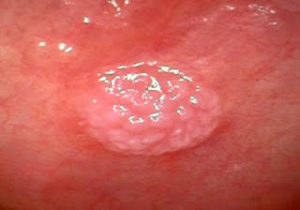
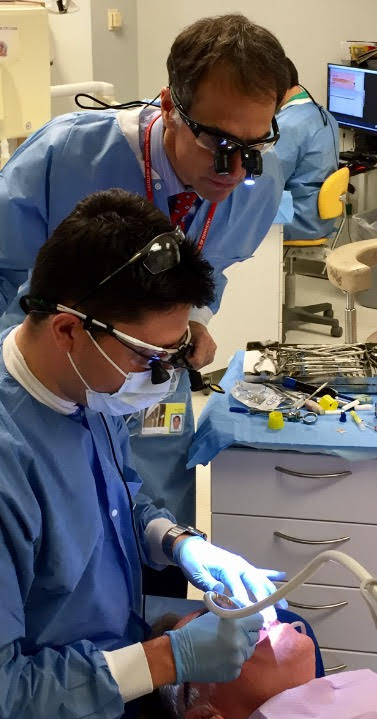
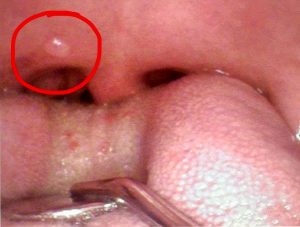
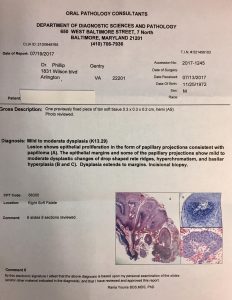
I do an oral cancer screening on all patients, and usually end up doing about 1 biopsy a month. I use magnification glasses, and it only takes about 20 seconds- I know what to look for! This month I did 3 biopsies, and that motivated me to write this blog post on oral cancer exams. Two were benign fibromas, and the other was a papiloma (HPV) showing mild to moderate dysplasia. I removed this fibroma on the inside of the patient’s lower lip because he kept biting it and it was annoying and bothering him.
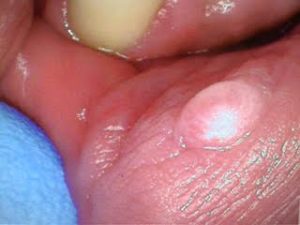
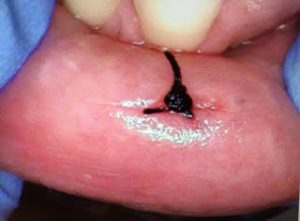
The papilloma virus patient had no idea the lesion was there. This lesion was way back on his soft palate and I didn’t even see it until I held his tongue down to check his throat. This papilloma was showing mild to moderate dysplastic changes and could have turned into oral cancer.
Dr. Gentry’s Article on How to Brush Your Dog’s Teeth.

Dr. Gentry with his dog, Luna, who often accompanies him to the office
Want to keep your pooch’s pearly whites in tip-top condition? Local dentist (and devoted dog owner) Philip Gentry offers this step-by-step advice for keeping Fido’s smile healthy and clean:
1. Use a specially designed dog toothbrush and pet toothpaste. Never, never, use human toothpaste. It’s not meant to be swallowed and will irritate a dog’s stomach. Two brands that I recommend are Sentry Petrodex Enzymatic toothpaste for dogs (poultry or peanut butter flavor) or Arm & Hammer’s Advanced Pet Care Enzymatic dog toothpaste (chicken or beef flavor).
2. Gently introduce the toothpaste by allowing your dog to lick it off your finger. Do this first, before you bring a toothbrush into the picture.
3. Next, use your finger to rub the toothpaste around the outside of the teeth and gums. Avoid the inside surface so as not to be bitten.
4. Once your dog gets used to the drill, you can introduce a toothbrush. Be sure to consider the size of your dog when choosing a toothbrush (smaller brush and head for a small dog; larger and longer brush for a bigger dog). Look for a soft brush that has bristles on both sides of the handle. Pet stores also sell finger brushes that fit over your fingertip.
5. Brush daily at a relaxed time in a location with plenty of light. Start brushing the front teeth and work backward, moving the brush in a circular motion. Lift the dog’s lip so you can see better.
6. Reward your pup with praise and petting. Make it a fun experience. It’s okay to give treats, too—ideally dental chews that are specifically designed to remove plaque and tartar. I like Greenies brand.
7. Avoid giving your dog table scraps and sweets. They will cause plaque build-up, decay and gum disease. Note: the sweetener Xylitol (which is found in candy, gum, human toothpaste, certain protein bars and other products) is toxic to dogs! Click here for a complete list of products that contain Xylitol.
8. Don’t stress if you can’t reach all of your dog’s teeth. Start the very first brushing with a goal of doing 10 seconds on the front teeth. Then work your way up to one minute, brushing all the teeth.
Related Stories:
Re-making a broken dental implant crown.
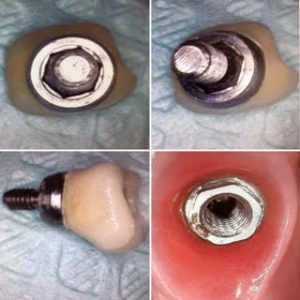
This patient presented with a broken implant crown. It was done 20 years ago in Los Angeles, California. What made this case interesting is that the dentist had retired and there was no record of the type or size of the implant. I sent pictures to different implant companies, but none were familiar with the design. I eventually figured out the implant manufacturer, but after checking, discovered they were no longer in business. Another complication was that the screw was stripped and difficult to remove. Eventually after trying different sized external hexed implant fixtures, I was able to get one to fit and made a beautiful new implant crown. Here’s the clinical photos:
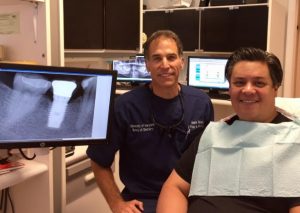
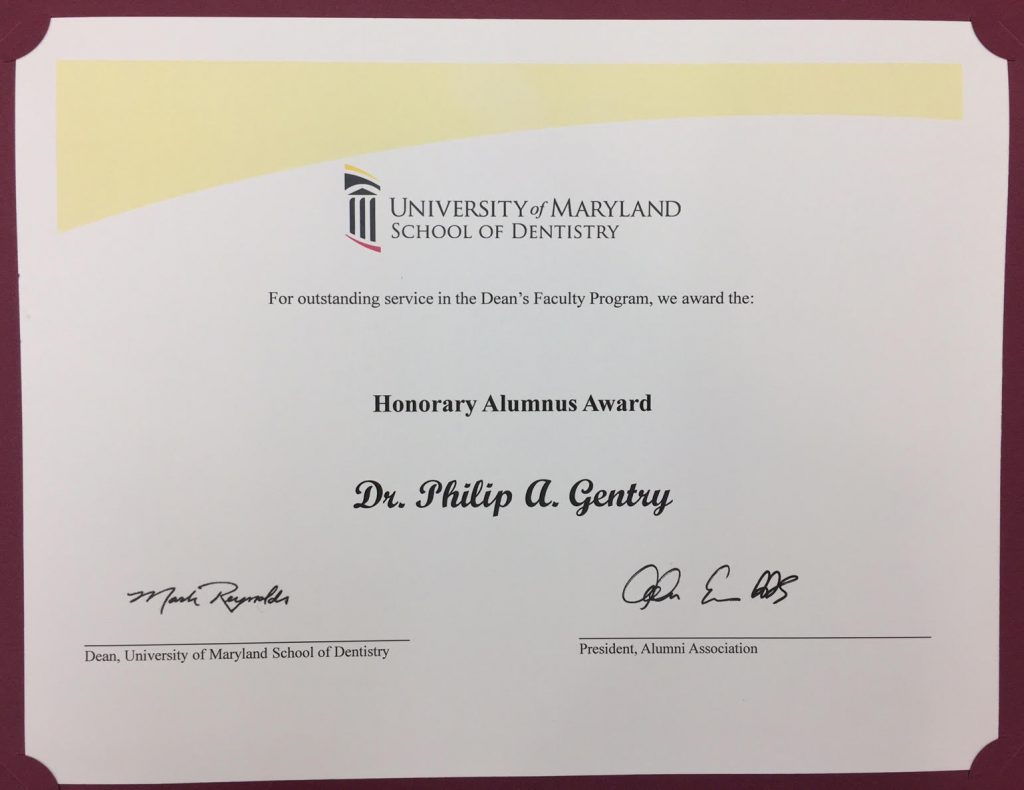
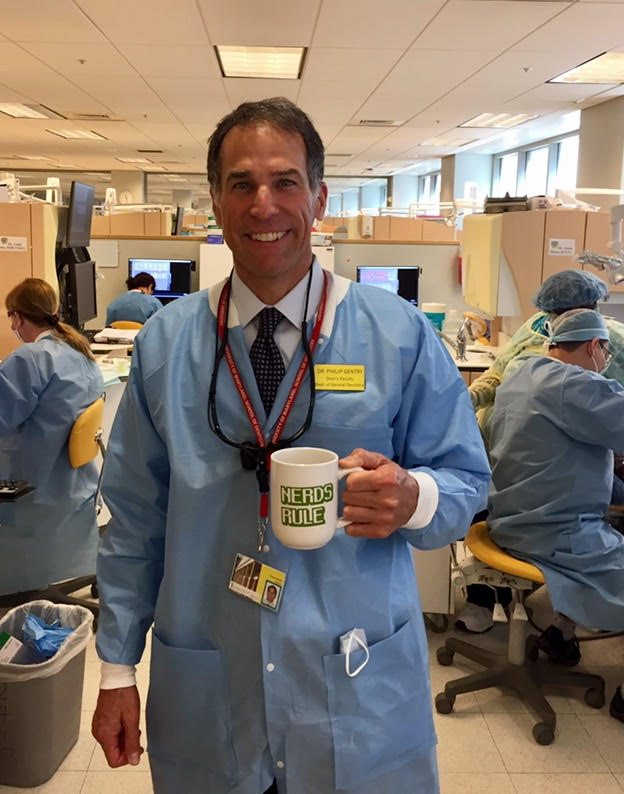
University of Maryland Honorary Alumnus Award
Dental Implant case of the Day.
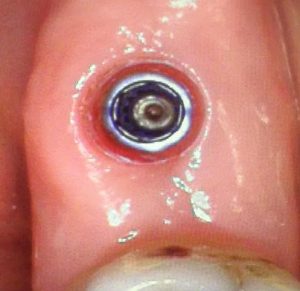
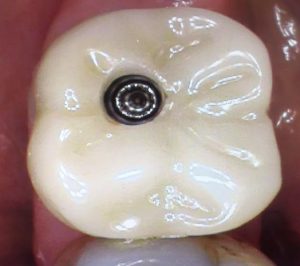
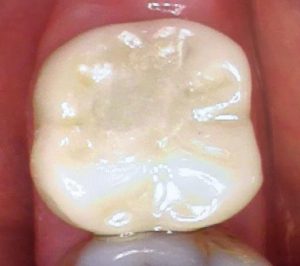
For this patient, we were unable to save her back right lower molar. We extracted the tooth and placed a dental implant. Here are the clinical photos:
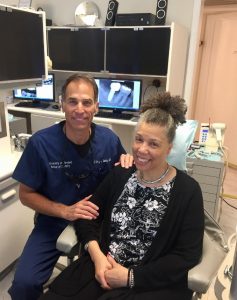
Valplast Flexible Partial Denture.
Here are the clinical photos of a Valplast partial denture I delivered today:
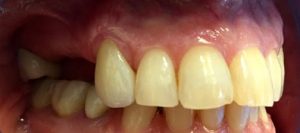
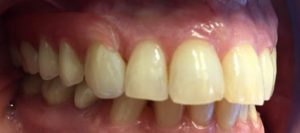
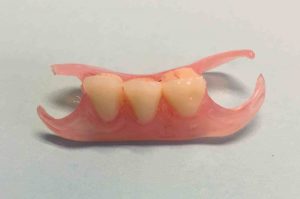
ESTHETIC – the translucent material blends naturally with the tissue tone and replaces clasps
COMFORTABLE – thin, lightweight and resilient with precision fit and retention
BIO-COMPATIBLE – non-allergenic, monomer and formaldehyde free
FUNCTIONAL – flexible to create a stress-breaker effect, with no minor or major connectors to collect food or affect speech
Dental Implant case of the Day
Here are the clinical photos from today’s implant delivery appointment:
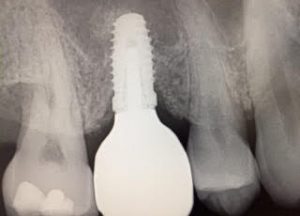

These x-rays show the importance of taking an x-ray to confirm that the implant crown is lined up and seated correctly.
